
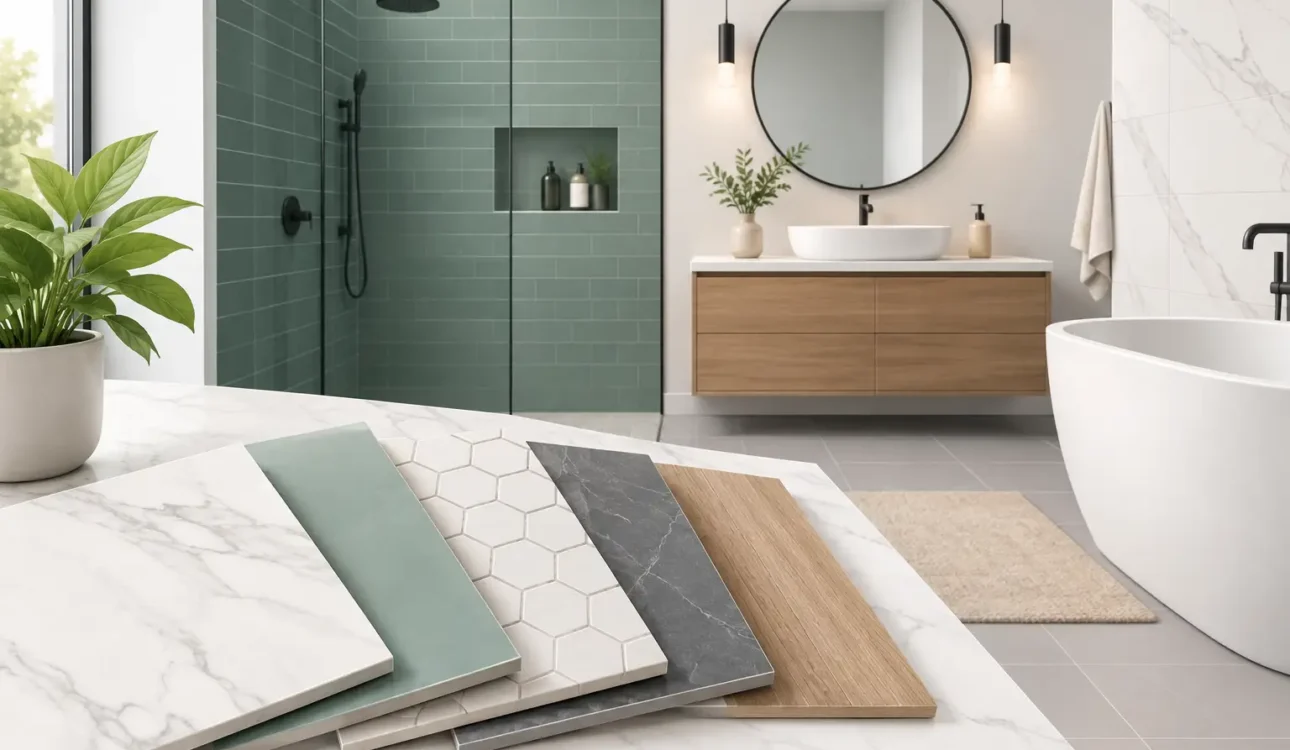
A tile sample can look perfect under showroom lighting and feel completely wrong once it covers a small bathroom. The most successful bathrooms are not built around one favorite tile. They are planned around how the room is used, where water lands, how much natural light it receives, and what the installation will require. Knowing how to select bathroom tiles in the right order helps prevent costly changes after materials have been ordered or work has begun.
For homeowners planning a substantial bathroom renovation, tile is not simply a finish selection. It affects safety, cleaning, waterproofing details, visual scale, labor costs, and the long-term feel of the room. A polished result comes from balancing each of these decisions rather than choosing by color alone.
Start With the Bathroom’s Real Conditions
Before looking at styles, define the room’s demands. A powder room, a family bathroom, and a primary ensuite may have similar square footage, but they need different materials and layouts. A shower used by two adults every day needs more attention to slip resistance, drainage, grout maintenance, and wall waterproofing than a guest bathroom used a few times a month.
Think about who will use the space. Young children and older family members often benefit from a floor with more grip. A busy household may prefer a mid-tone tile and grout combination that is less likely to show every water spot, hair, or footprint. If the bathroom has a large window, the tile should also be viewed in daylight, not just under bright overhead fixtures.
This early review also gives the renovation team a chance to identify construction conditions that influence tile choices. Older GTA homes can have uneven subfloors, walls that are not perfectly square, or plumbing locations that limit a planned layout. Addressing those realities before purchasing materials protects both the schedule and the budget.
How to Select Bathroom Tiles by Location
One tile does not need to do every job. Floor tile, shower-floor tile, wall tile, and vanity backsplash tile each work under different conditions. Selecting materials by location gives you more control over performance while keeping the design cohesive.
Bathroom floors need traction and strength
Porcelain is often a practical floor choice because it is dense, durable, and available in a wide range of stone, concrete, and wood-look finishes. Ceramic can also work well in lower-traffic bathroom areas, but porcelain is generally the stronger choice for heavily used floors and wet environments.
Pay attention to the finish, not just the material. Highly polished tile can be striking, but it may become slippery when wet and can show water marks more easily. Matte or textured porcelain is usually more forgiving for family bathrooms. The tile should be rated for floor use, and the product specifications should be confirmed before it is ordered.
Shower floors require smaller formats
Large-format tile is popular on bathroom floors and walls, but it is rarely the best solution for a shower base. Shower floors slope toward the drain, and small mosaic tiles follow that slope more effectively. Their additional grout joints can also provide useful traction.
This does not mean every shower floor must use tiny tile. The appropriate size depends on the drain type, shower dimensions, and planned slope. A linear drain may allow for larger pieces in some layouts, but the choice must be coordinated with the waterproofing and drainage plan, not decided after the shower pan is built.
Shower walls allow more design flexibility
On shower walls, large porcelain tiles can create a clean, low-maintenance appearance because there are fewer grout joints to clean. They can also make a modest shower feel calmer and more expansive. However, bigger tiles require flatter walls, careful handling, and experienced installation. A lower material price does not always mean a lower installed cost.
Subway tile, square tile, and other smaller formats remain strong choices, especially in traditional homes or bathrooms where a detailed pattern suits the architecture. The trade-off is more grout and more layout work. A properly planned niche, bench, curb, and edge detail matter just as much as the field tile.
Choose Size and Layout for the Room, Not the Trend
Large tiles can reduce visual clutter, but they are not automatically right for every bathroom. In a narrow room with several corners, doorways, and fixtures, a very large tile may create many small cut pieces. That can make the layout look less intentional and increase waste.
A good tile plan begins at the most visible wall or focal point. In many bathrooms, that is the vanity wall, the shower back wall, or the wall seen from the doorway. Centering the layout there can produce balanced cuts on each side. Starting at one edge without a plan can leave an awkward, narrow strip in the most noticeable place.
Tile direction matters, too. Rectangular floor tile laid lengthwise can emphasize the length of a narrow bathroom, while a horizontal wall pattern can visually widen a shower. Diagonal layouts can add movement, but they use more material and take longer to install. Herringbone, chevron, and complex patterns create a custom look, yet they require more cuts, more labor, and a careful conversation about cost before final selections are made.
Coordinate Tile, Grout, and Fixtures Early
Tile rarely looks the same once grout is added. High-contrast grout outlines every piece and makes a pattern more prominent. A grout color close to the tile creates a quieter, more continuous surface. Neither approach is better in every bathroom, but the decision should be intentional.
For a low-maintenance family bathroom, very light grout on a floor can be demanding, particularly near the shower and vanity. Very dark grout can also show soap residue and mineral deposits. Mid-tone gray, warm taupe, or a shade close to the tile is often a practical middle ground.
Bring tile samples together with vanity finishes, countertop samples, paint colors, plumbing fixtures, and lighting selections. A warm white tile can look clean beside brushed brass but appear yellow next to a cool gray quartz countertop. Small samples are helpful, but larger boards or full tiles give a much more accurate sense of variation, texture, and sheen.
If you are using natural stone, expect variation. Marble, travertine, and slate can provide a distinctive look, but they need proper sealing and more attentive maintenance than porcelain. Some stones are also more sensitive to staining and etching. They can be an excellent choice when homeowners understand those requirements and accept the added care.
Plan for Waterproofing Before Installation
Beautiful tile does not make a shower waterproof. Tile and grout are finish materials, not the water-management system behind the wall. The substrate, membrane, drain connection, shower slope, corners, and penetrations around fixtures all need to be built correctly before the first tile is set.
This is one area where a coordinated renovation process makes a meaningful difference. The designer, project manager, plumber, and tile installer need the same plan for valve locations, shower niches, grab bars, glass dimensions, and drain placement. Changing any of these after waterproofing can lead to delays, additional cost, or compromised work.
Confirm how the bathroom will transition at the doorway as well. Tile thickness, underlayment, heated-floor systems, and adjacent flooring all affect final floor height. A smooth, properly planned transition is safer and looks more finished than an improvised threshold added at the end.
Budget for the Installed Result, Not Just the Tile Price
A tile priced by the square foot is only one line in the final cost. Installation can vary significantly based on tile size, pattern, wall preparation, waterproofing requirements, demolition, floor leveling, trim pieces, and access to the work area. Specialty tiles, natural stone, large slabs, and detailed mosaics often require more labor and generate more waste.
Material quantities should include a reasonable allowance for cuts, breakage, and future repairs. The amount depends on the pattern and room shape. A straight layout in a simple room may need less extra material than a diagonal or herringbone pattern with multiple corners. Ordering too little can create a serious problem if the tile is later discontinued or a new production batch differs in shade.
It is also wise to ask whether the selected tile has matching bullnose, baseboards, corners, or trim. If not, the installer may need to use metal profiles, mitered edges, or another finishing method. Each can look excellent, but each affects both cost and the overall style.
Use Samples Where They Will Actually Be Installed
Do not make a final decision from a phone image or a tile held vertically under store lights. Take samples home and place them on the floor, near the shower, and beside the vanity. Look at them in morning daylight, evening light, and with the planned fixtures. Wet a sample if it will be used in a shower or on a bathroom floor, since many surfaces change in color and grip when wet.
At Ultimate Kitchen & Home Renovation, material selection is coordinated with the complete renovation plan, so tile choices can be reviewed alongside cabinetry, plumbing, construction details, and realistic installation costs. That approach keeps design decisions connected to the work required to build them properly.
The right bathroom tile should still feel like the right choice after the samples are wet, the grout is considered, the layout is drawn, and the installation details are accounted for. That is the point where a bathroom moves beyond a good-looking idea and becomes a space designed to serve your home well for years.